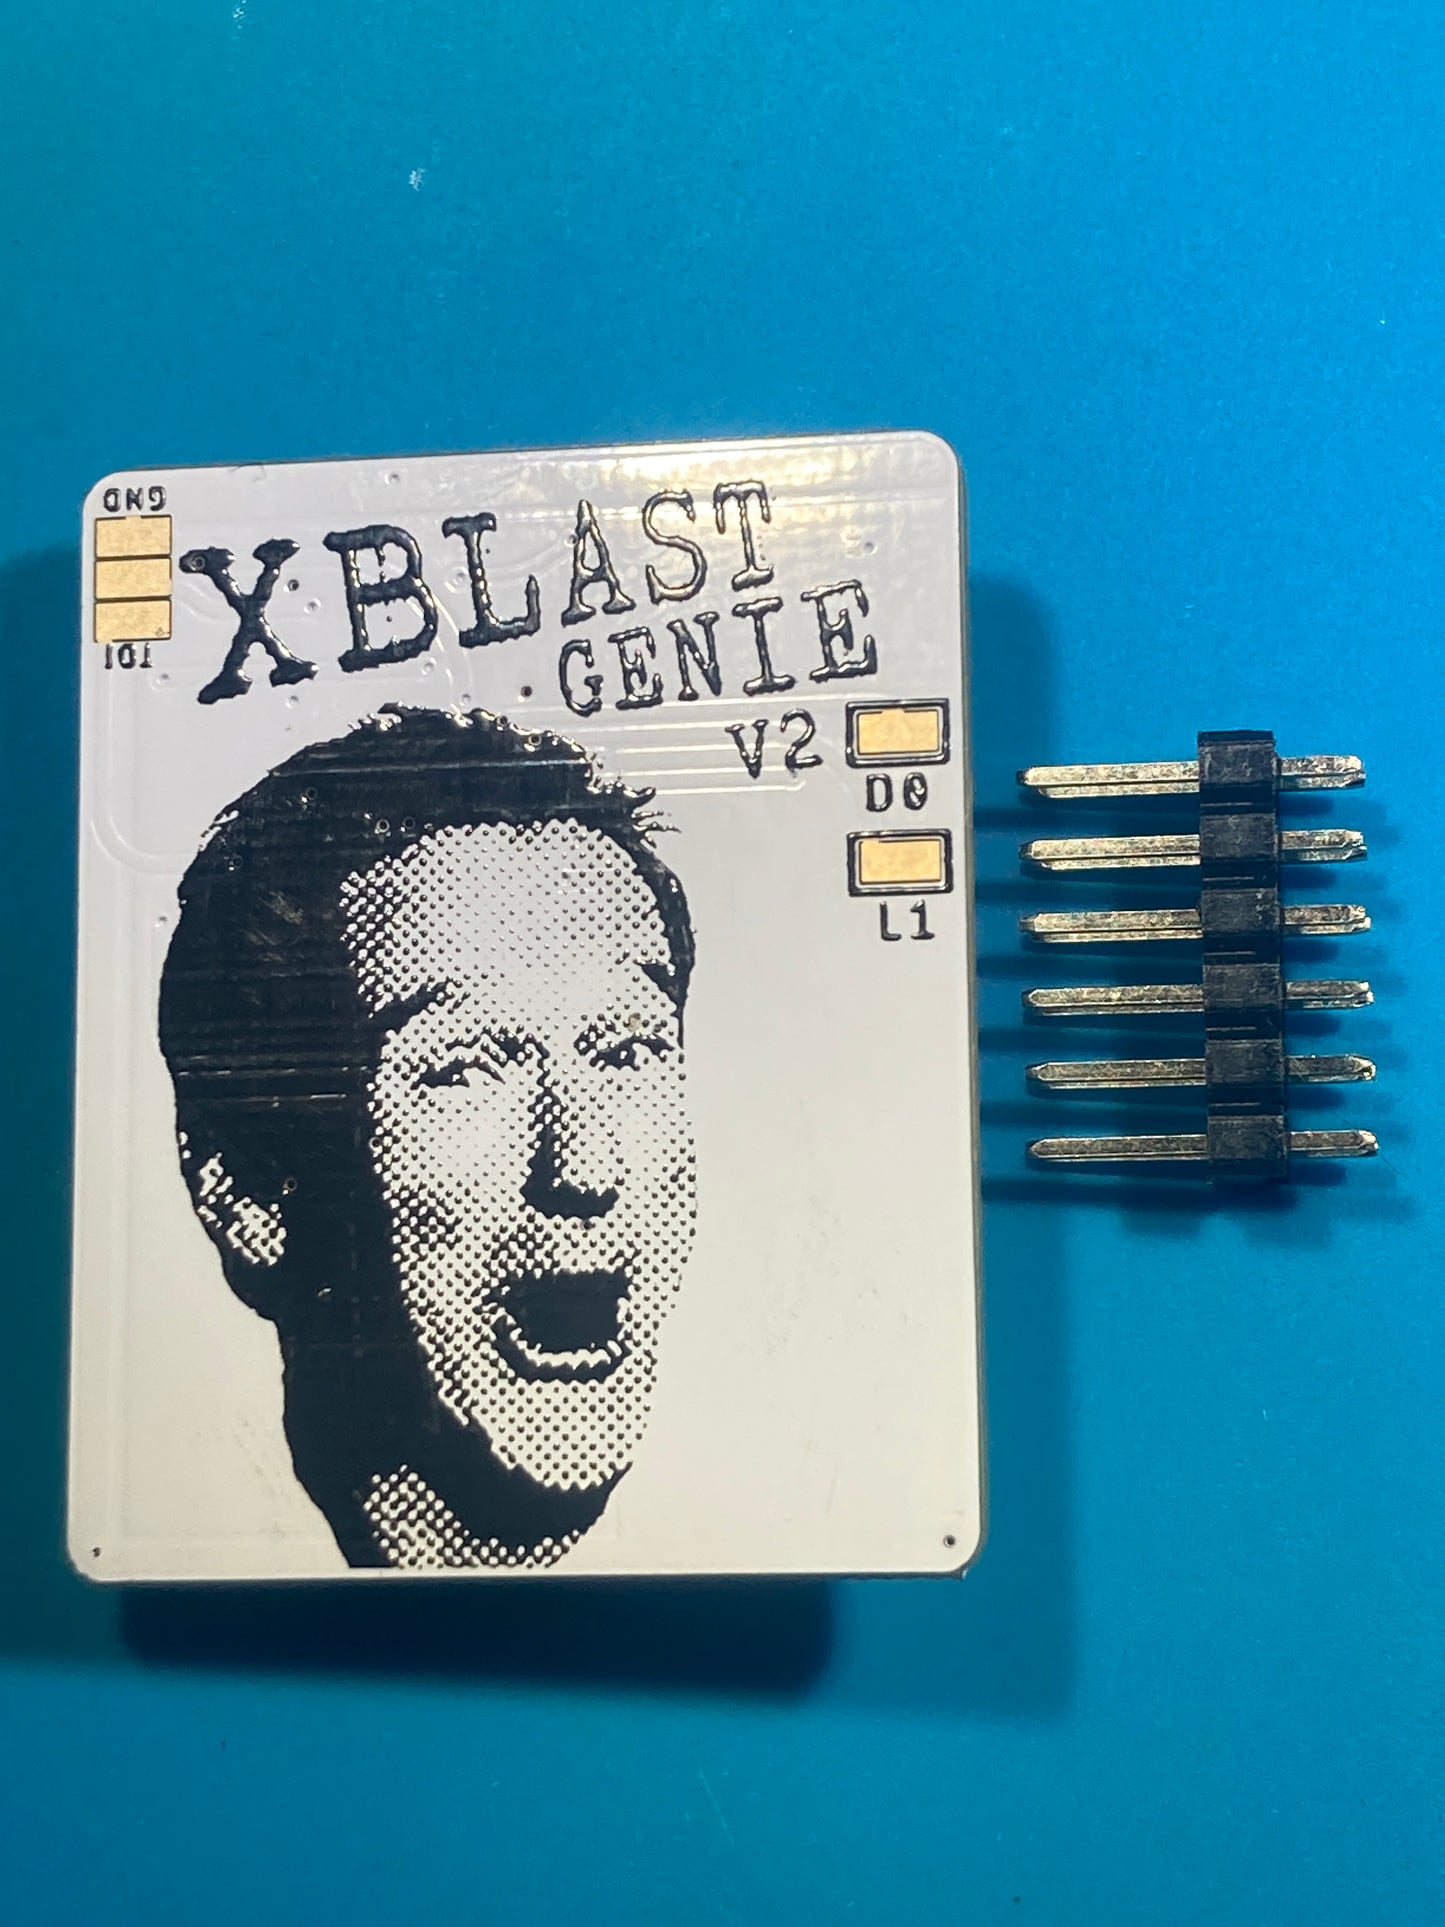
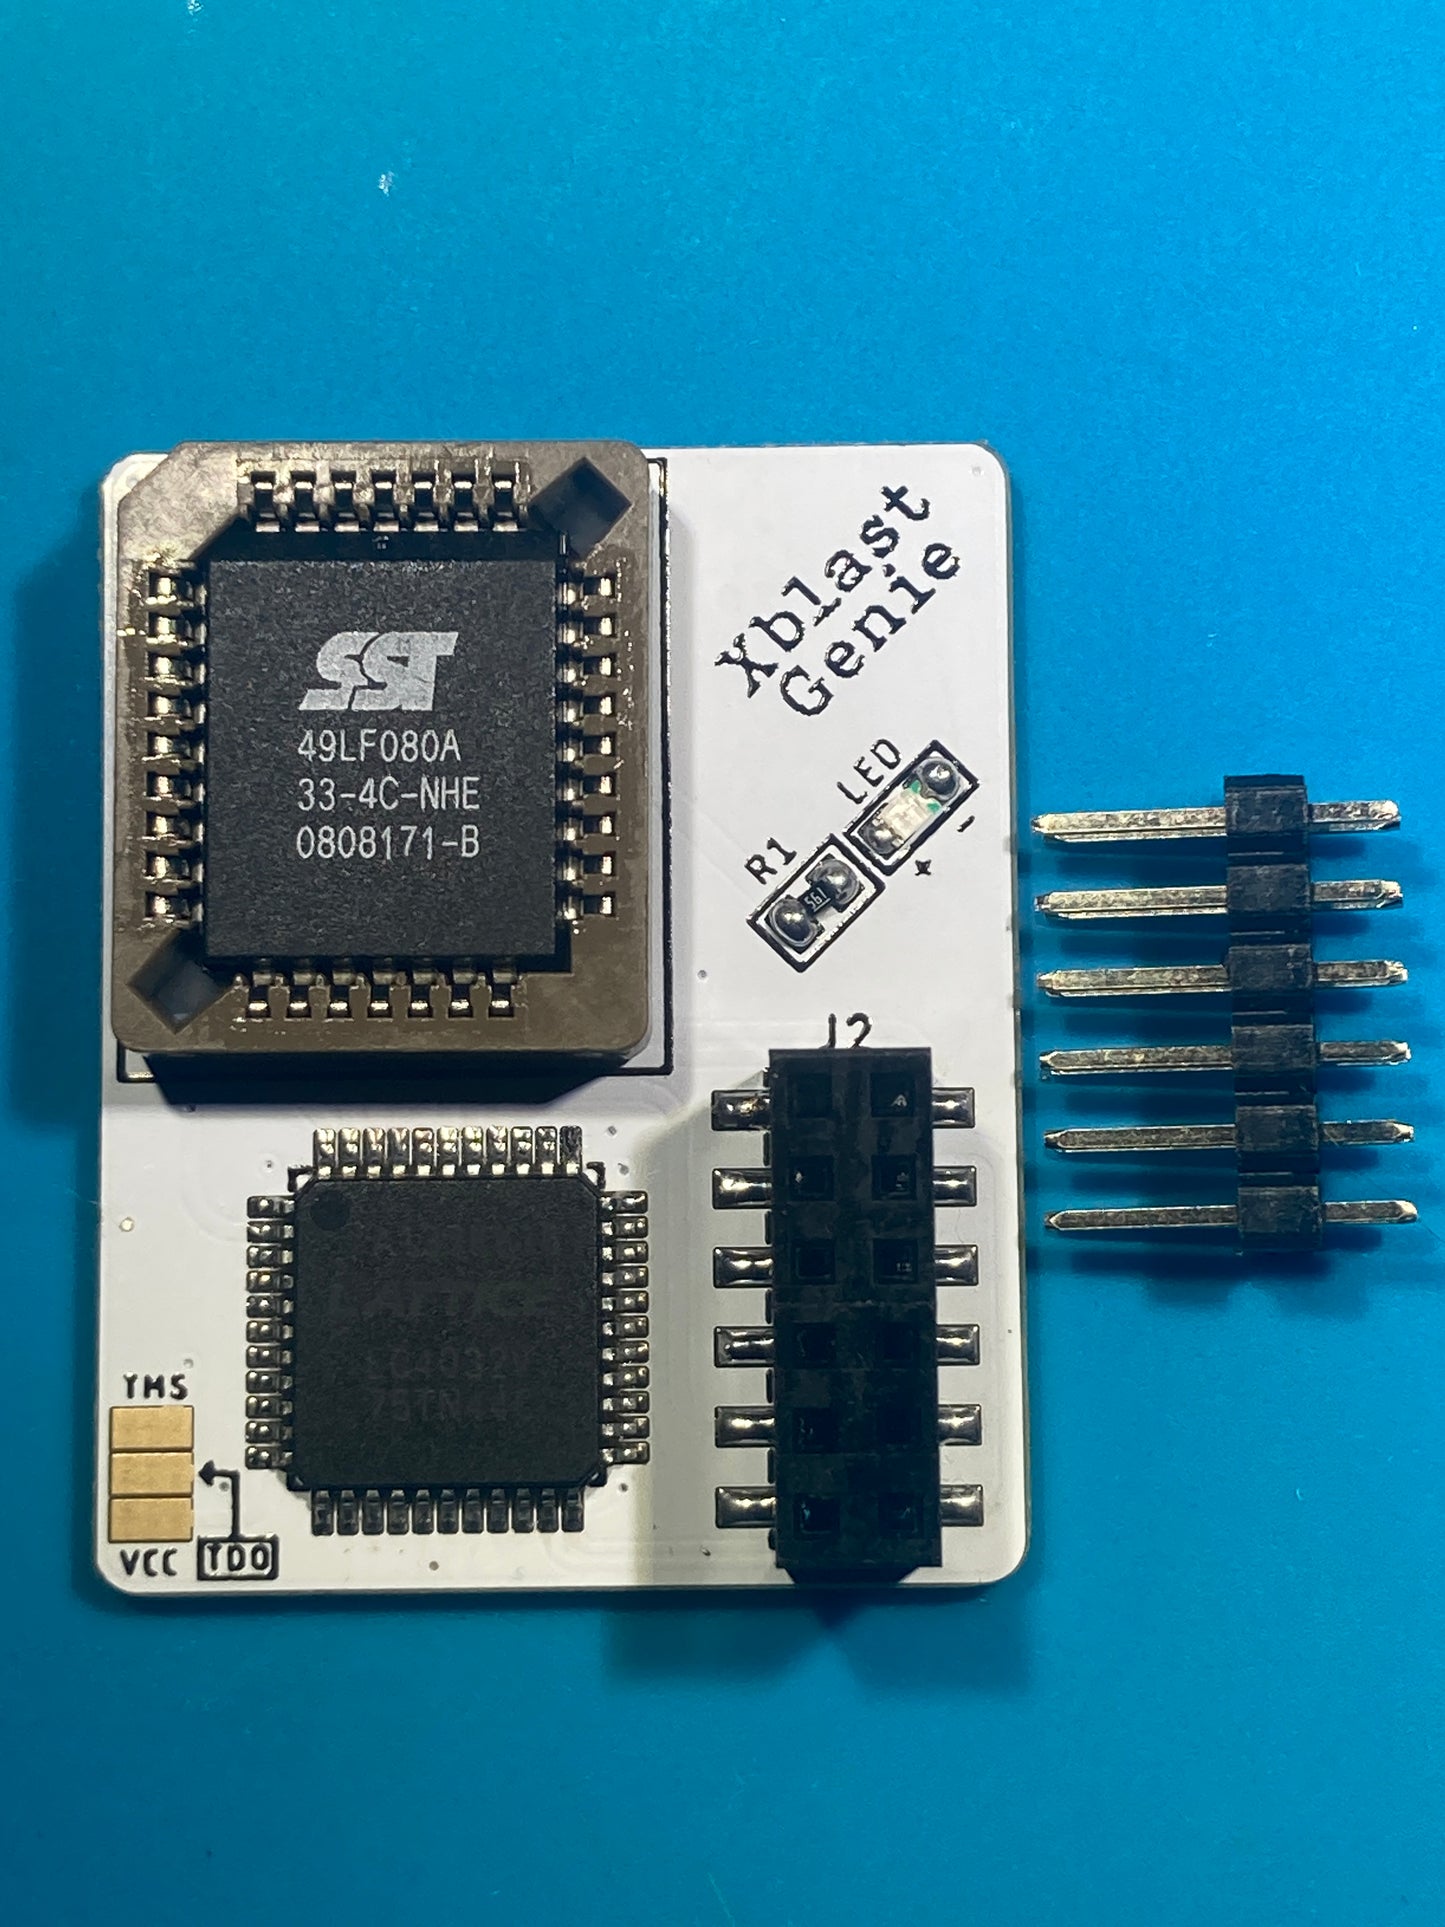
Xbox - Custom Xblast Aladdin for OGXbox "Xblast Genie"
Discontinued!
Modxo is is cheaper than these and is more capable. therefore i've opted to discontinue the xblast genie. You can get the modxo adapter boards here.
If you're interested in an Xblast chip specifically, I still carry the Xblast Lite which you can get here
Instead of modifying Aladdins, I've opted to switch to custom hand soldered PCBs. Aladdin's have some wonky issues with D0 not working reliably on the chip which these PCBs resolve. These PCBS were made by my buddy ConsolemodsAU and are a replica of the OG legit Aladdin PCBs.
UPDATED TO SUPPORT THE NEW 1.6 RAM MOD
With the modern batches of Aladdin Modchips coming with SST chips that can't be flashed, an upgraded Xblast aladdin is much better option.
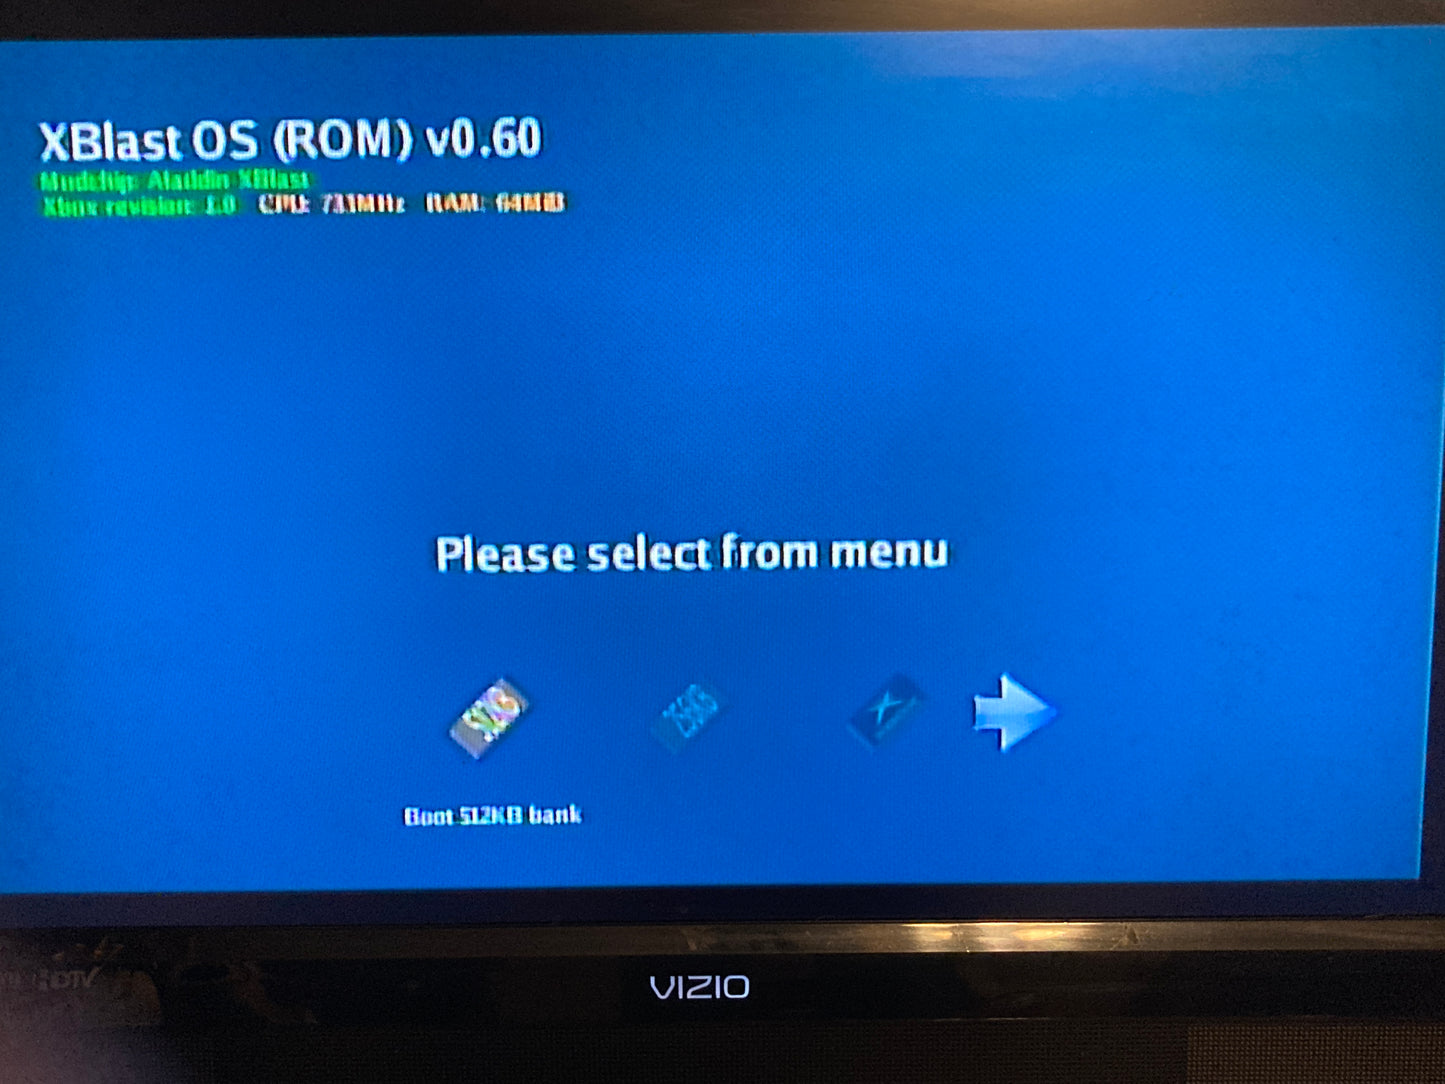
With an Xblast Aladdin you'll have access to 3 different boot options
- 1x 512kb bank
- 1x 256kb bank
- The Xbox's onboard Tsop (Retail)
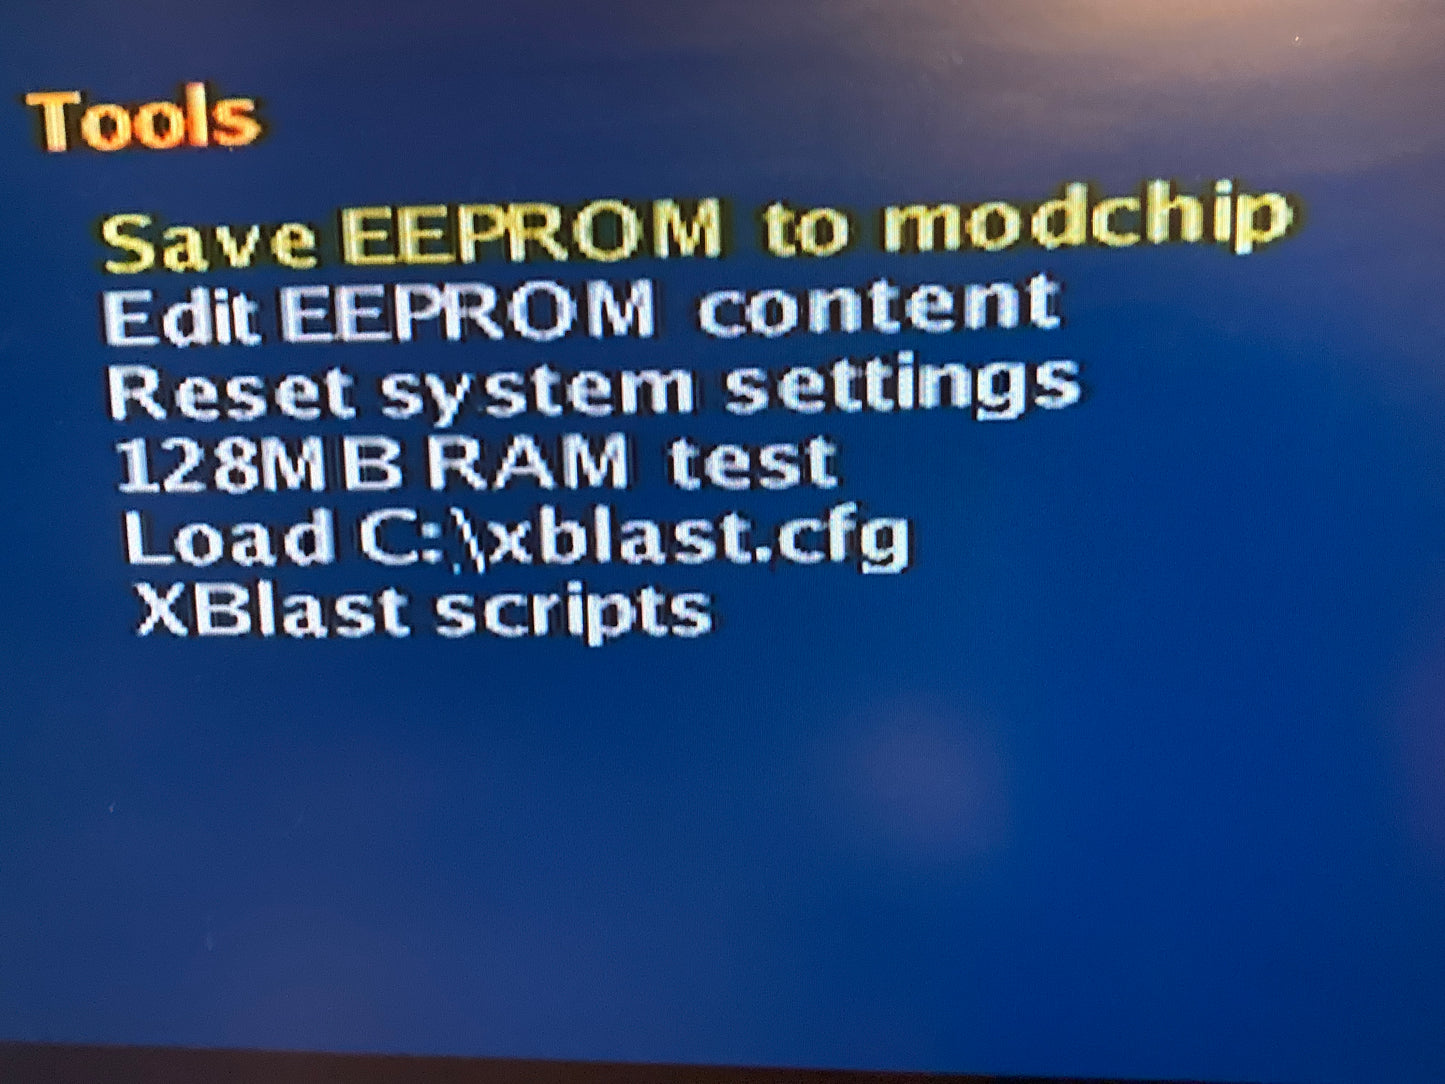
An xblast aladdin is a mighty fine alternative to chips like the OpenXenium. With this chip you can backup your Eeprom, Format a Hard drive, Flash Bios over Network ect.
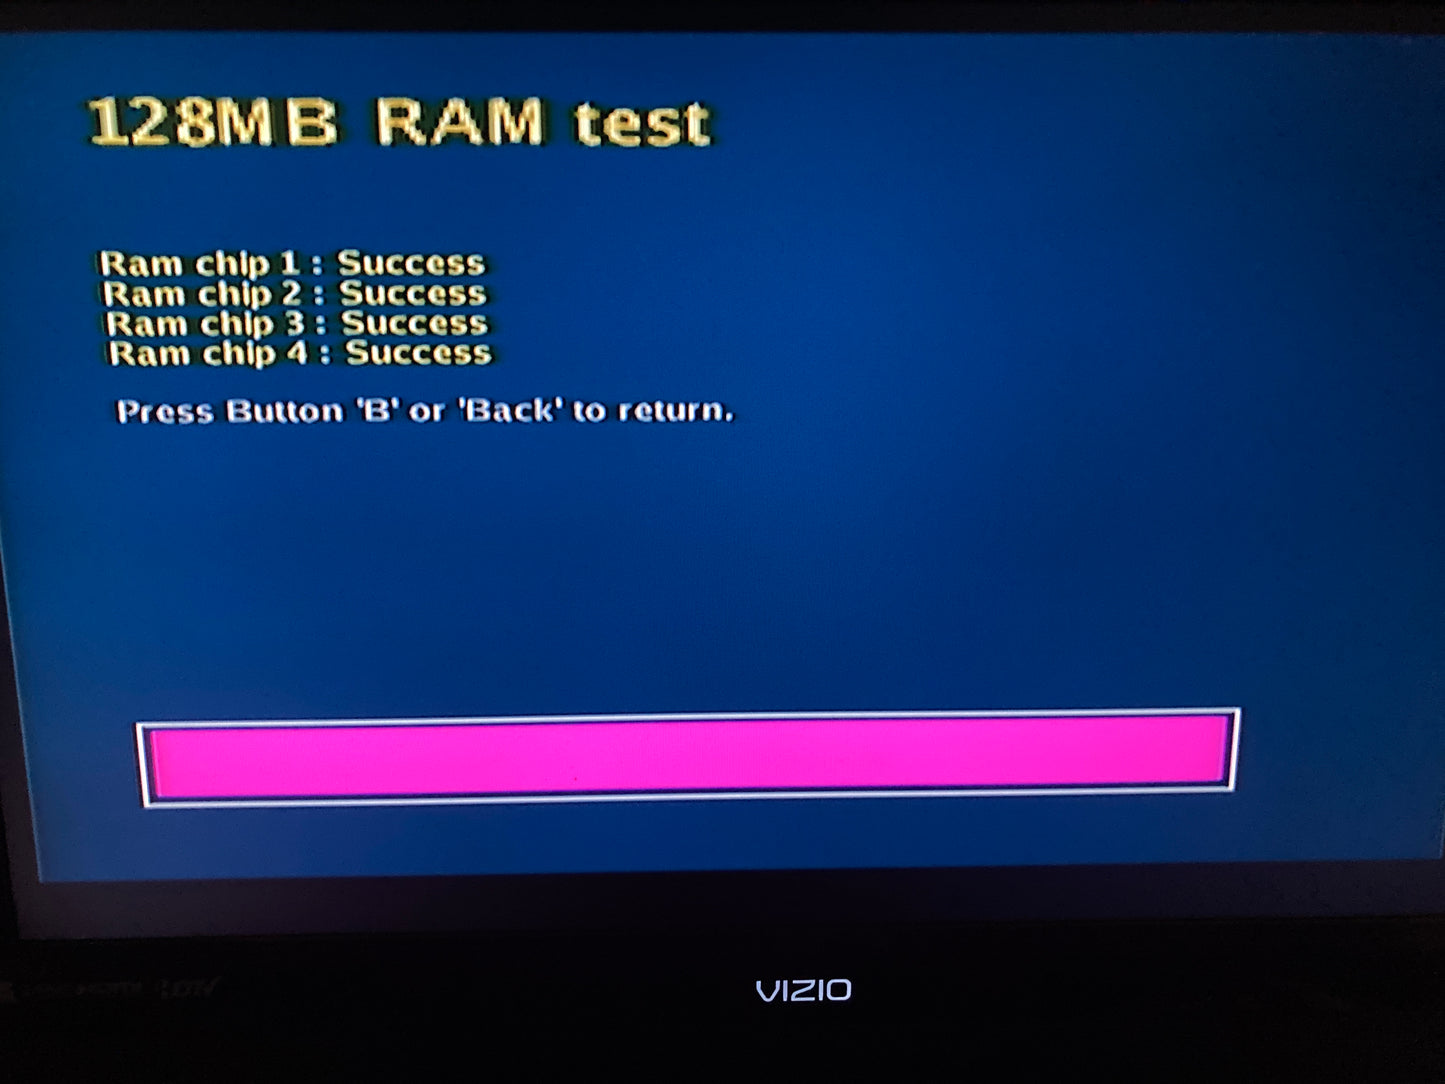
Xblast also has a very nice feature of being able to test a 128mb ram install. When you're running Xblast you're able to install a Ram chip at a time and the console will still boot if it's installed properly which is not the case with other modchips. Having a spare Xblast modchip on hand for 128mb ram installs is quite nice if you're going to be doing multiple.
INSTALL
Each chip is hand soldered and tested before shipping.
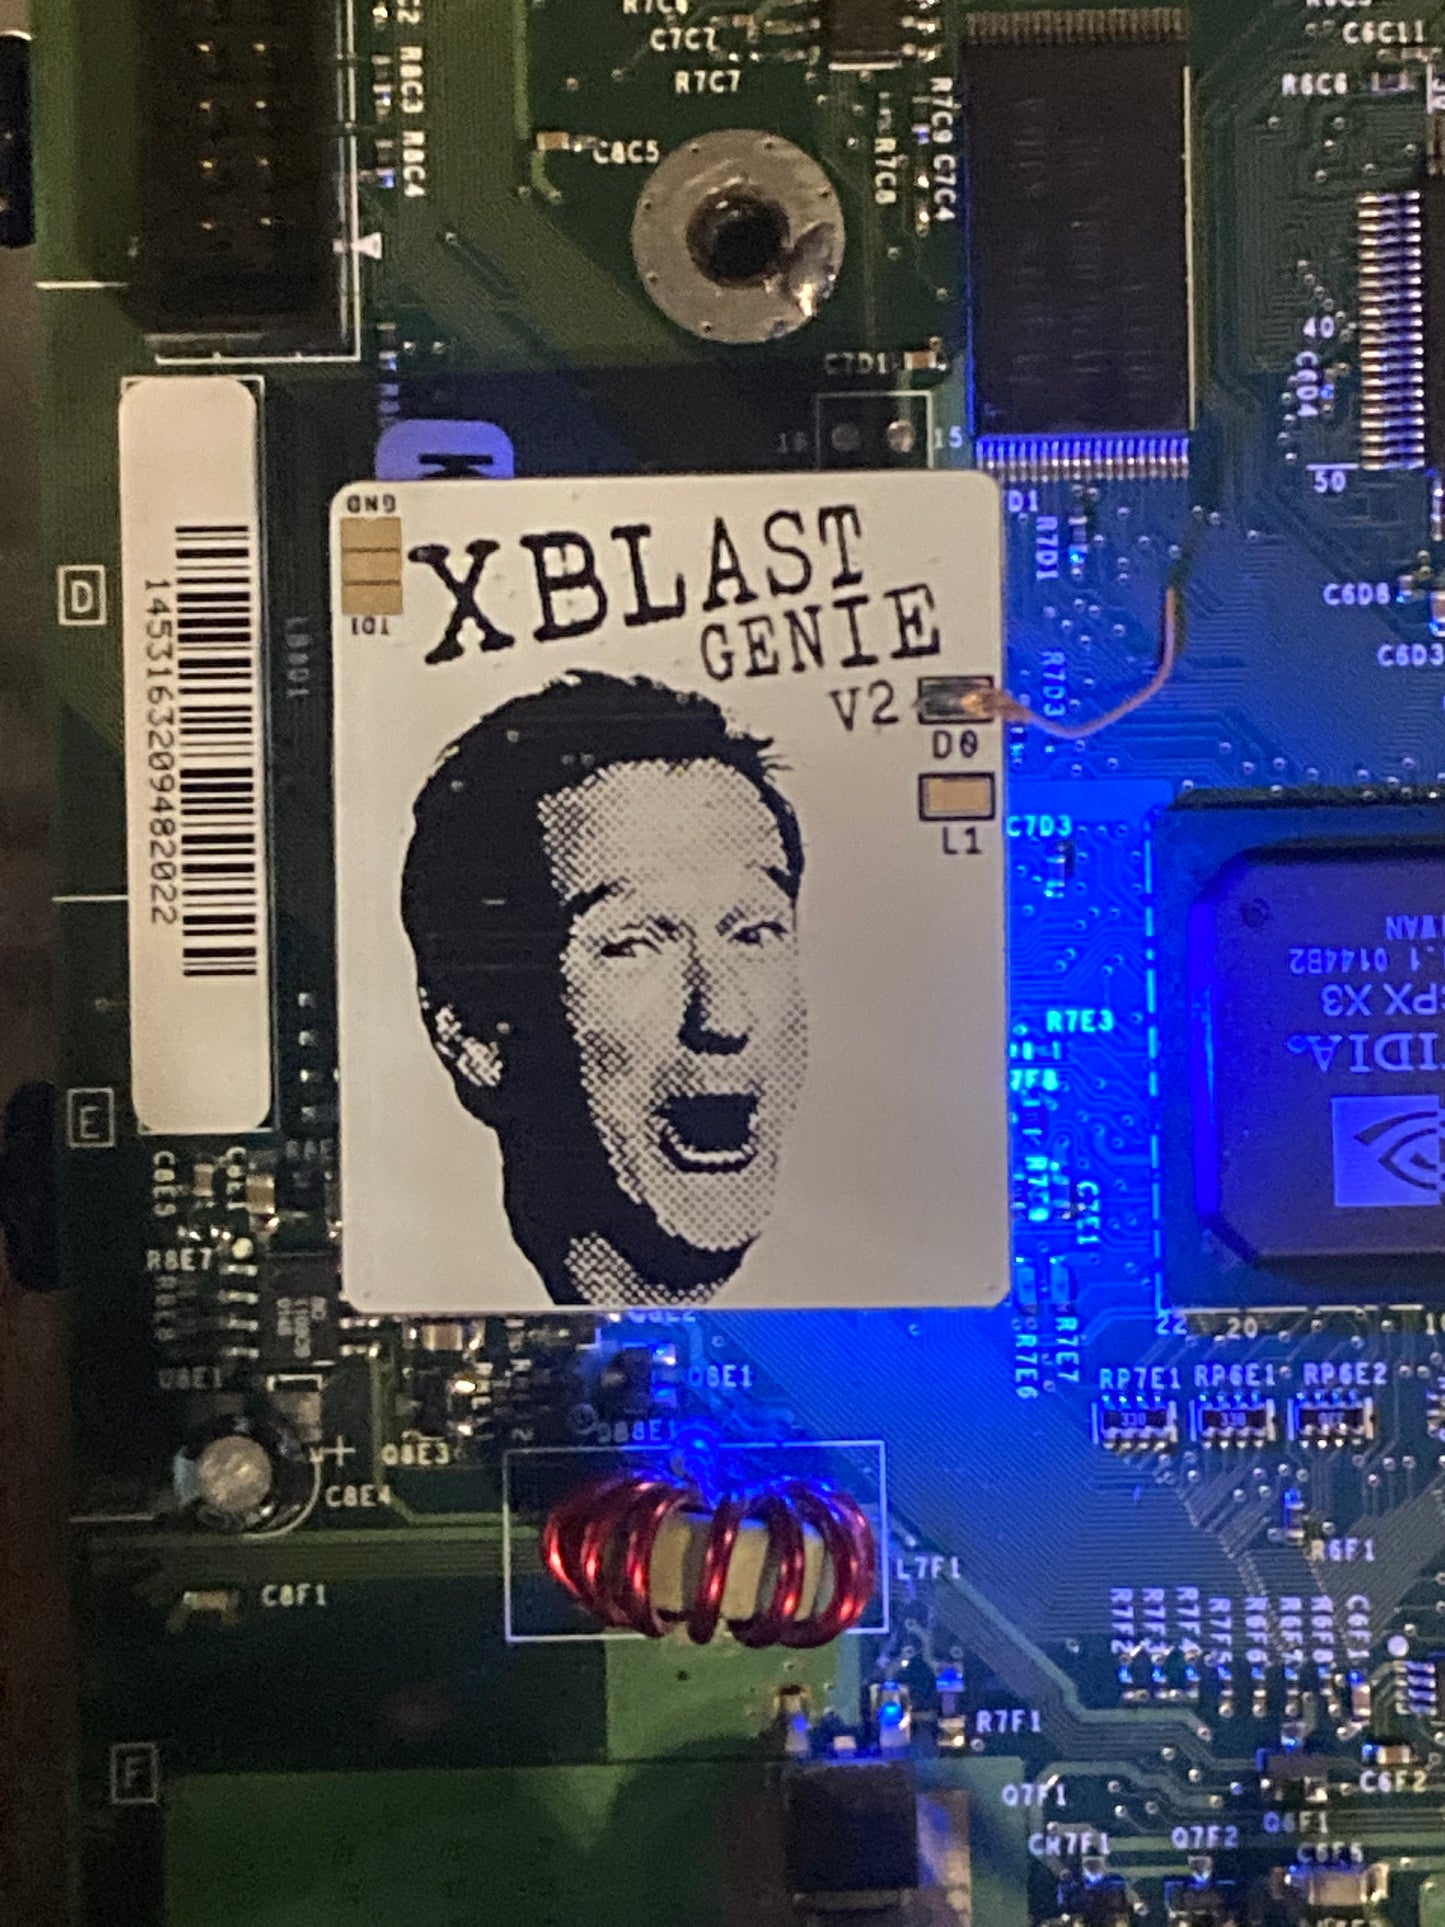
1.0 - 1.5 Install the pinheader to the lpc port and solder the D0 point on the xbox mainboard to the D0 point on the Modchip.
1.0-1.5 D0 point (top side)
1.0-1.5 D0 ALT (bottom side)
These pads may be easier to solder to but they're very brittle. Don't use wire any thicker than 30awg and secure your wire with tape or uv resin. It's very easy to rip the pad if the wire gets snagged so be careful.
1.6 Install the pinheader. The Lpc needs to be rebuilt on 1.6 consoles. Using 30awg kynar, Rebuild the traces like in the image below and wire the Lframe pad to L1 on the xblast genie. The wire can be feed through one of the empty holes on the Lpc port. I'd recommend tacking the lframe wire to the bottom of the board with some uv resin or tape to avoid the wire getting snagged and ripping your lframe pad.